
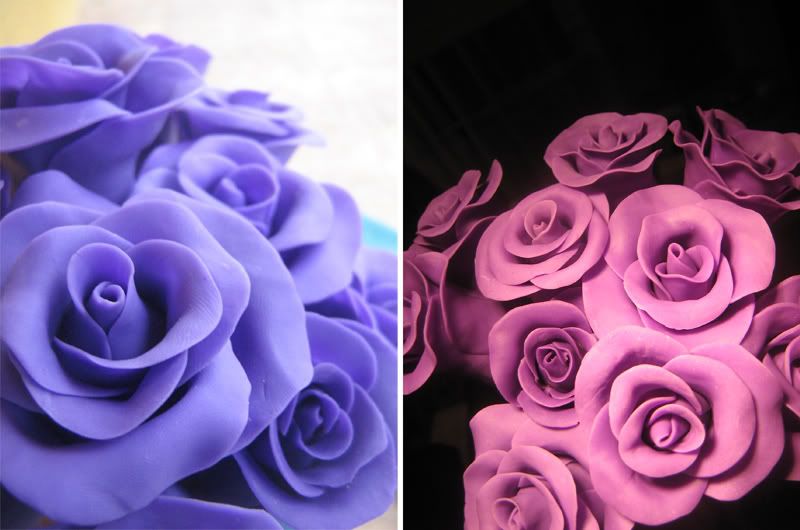
I divided the process on two, because I’m not buying the Buds for the flowers instead I’m making my own and I’ll show you how easy this is, in case you don’t want make them, you can buy a 5 pack ($4.25). I found this store here (Link) that has the kind I wanted.
All of this materials happened to be around my house, so I'm really happy.
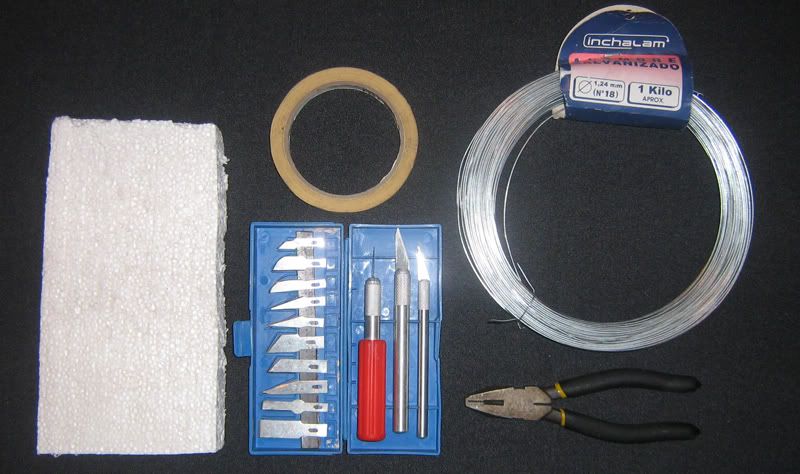
You will need:
- Wire, I'm using normal one, but you can use the one that comes already covered on floral tape, that makes things a lil bit easier.
- Normal masking tape.
- Pliers, just to cut and twist the wire.
- Cutters, It can even be a knife, you'll use it to shape the Buds.
- Styrofoam.
 First I cut squares ( you can make them as big as you need)
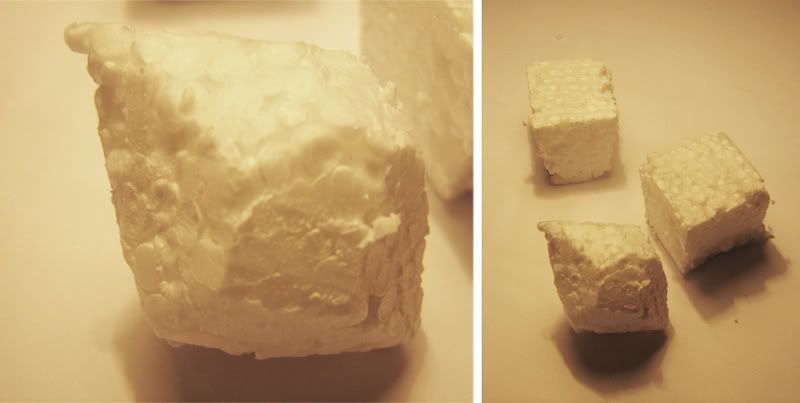 Then with a cutter, shape the squares until you get this kind of shape, I basically just cut the edges. ( If you are going to work with small roses, it's better to softener the Buds a little with sand paper)
 Cut two pieces of wire and twist them just like the picture ( I did this to make it thicker, because it looked weird too thin) after it's ready poke the wire into the rose core ;)
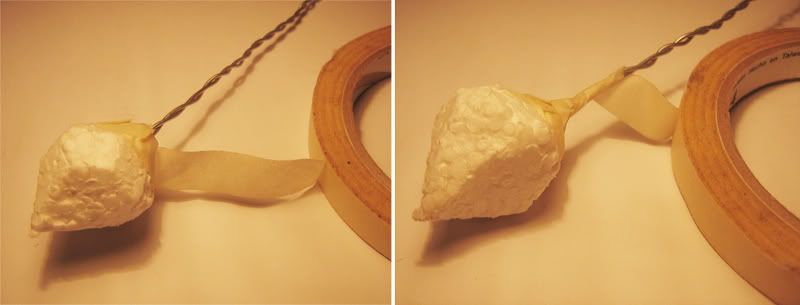 After that, and to make sure the buds are not going to fall, tape everything together.
 You'll get something like this. Now you see the reason why I'm NOT buying them, this is just the first ones and I'll need a LOT.Now to the most fun part!! For this you'll need:
- Cutter.
- Acrylic paint
- Clay (I'm using a super light one that doesn't need to be cook)
- Metal ball tool (Not really needed, but it makes the easier to shape the pedals)
- Toothpick (This is like a magic tool)
- Ice cream stick
First you need to color your clay, in my case I'm making purple roses. Play with the color until you get what you need, I learn that after the flowers dry they tent to get darker. I didn't use gloves, usually you don't get a lot on your hands, but if you want to make sure its better to use gloves (Just to make sure) After it's all mixed up you don't longer need them.Roll a long piece and divide it on the number of pedals you want your rose to have. After you cut it it's better to store the piece your not going to use on a Ziploc bag ( or any other seal one) just to make sure it's fresh.
I'm working with 500gr bags, I divided that on 5 pieces first, then the 100gr on 50gr, that's what I used for one roll, but now that I'm making them with less pedals the 50gr are good for 1 1/2 rose.
Roll a ball with the first pedal material, after that mold it until you get the thickness of the pedal you prefer.Now remember that the first pedal goes all the way around the Bud. Keep adding pedals an with the toothpick softly roll the outside to have a more realistic feel. I also use the ice cream stick after the toothpick to shape the outside of the pedal ( This is what I used before I bought the actual tool to do that, but I would recommend to just use the ice cream stick, because it works just like the the metal ball tool if you do it softly)Make as many pedals you want, my roses are not so big so I'm using 7 to 9 pedals only.Hope you like it and show me if you attempt to make them :)


What kind of clay did you use? I got a book on clay flowers and it says to use DecoCraft but it is not sold in any stores here and is somewhat expensive...
ReplyDeleteWhen I first research the clay options I found this one (Link) but it's $8.99 for a 137gr; (Expensive for me!)Luckily I found an Argentinian Clay from "EMA" creations (Link) and it's $5.00 for a 500gr bag, that's the one I'm using but they don't have an online store :(
ReplyDeleteYay I've been waiting for this post. : ) I wishI had more time because I would totally make these. They are amazing.
ReplyDeleteThank you Sweet Tooth!! you make me blush :)
ReplyDeleteYou are so freaking talented! Beautiful job!!
ReplyDelete@Joy - I was waiting for this post too! These look so amazing. This would be a great touch to my guestbook table. If I had the energy (& money) I would have done this for the centerpieces too =).
ReplyDeleteThanks for this post!
Two questions Joy...
ReplyDelete1. How much of the clay do you need to make the long piece needed to divide for the petals.
2. What is the ice cream stick needed for?
Thanks!!
@kristal: Thank you, blushing again!! :)
ReplyDelete@TheRoddyBride:Thank you too!! and to your questions:
1.- I'm working with 500gr bags and I divided on 5 first, then the 100gr on 50gr, that's what I used for one, but now that I'm making them with less pedals the 50gr are good for 1 1/2 rose :)
2.- I use the ice cream stick with the toothpick to shape the outside of the pedal ( This is what I used before I bought the actual tool to do that, but I would recommend to stick with the ice cream stick, because it works just like the the metal ball tool if you do it softly)
Hope that helps! and I'm so happy your making them yay! :)
Joy, so great!!! I've also been waiting for this tutorial. It will be a while until I try them, but they're gorgeous!
ReplyDeleteDid you have to wear gloves to mix the paint with the clay? Does the paint get all over your hands?
@FlipFlopBride: I didn't use gloves, usually you don't get a lot on your hands, but if you want to make sure its better to use gloves (Just to make sure) After it's all mixed up you don't longer need them :) I'm glad you like them!
ReplyDeleteoh my gosh, this is so freaking awesome. I totally want to do this now too.
ReplyDeleteI am doing this at my wedding! It is at least 4 years away but I want to do a purple wedding as well and your blog is such an inspiration to me, I am reading every post! I love your creativity and imagination. Thanks so much for sharing your ideas!!!
ReplyDelete@Jen & @Caitlyn : Yay!! I'm so happy your want to try them! :) If you do, don't forget to show me! I would love to see
ReplyDelete